
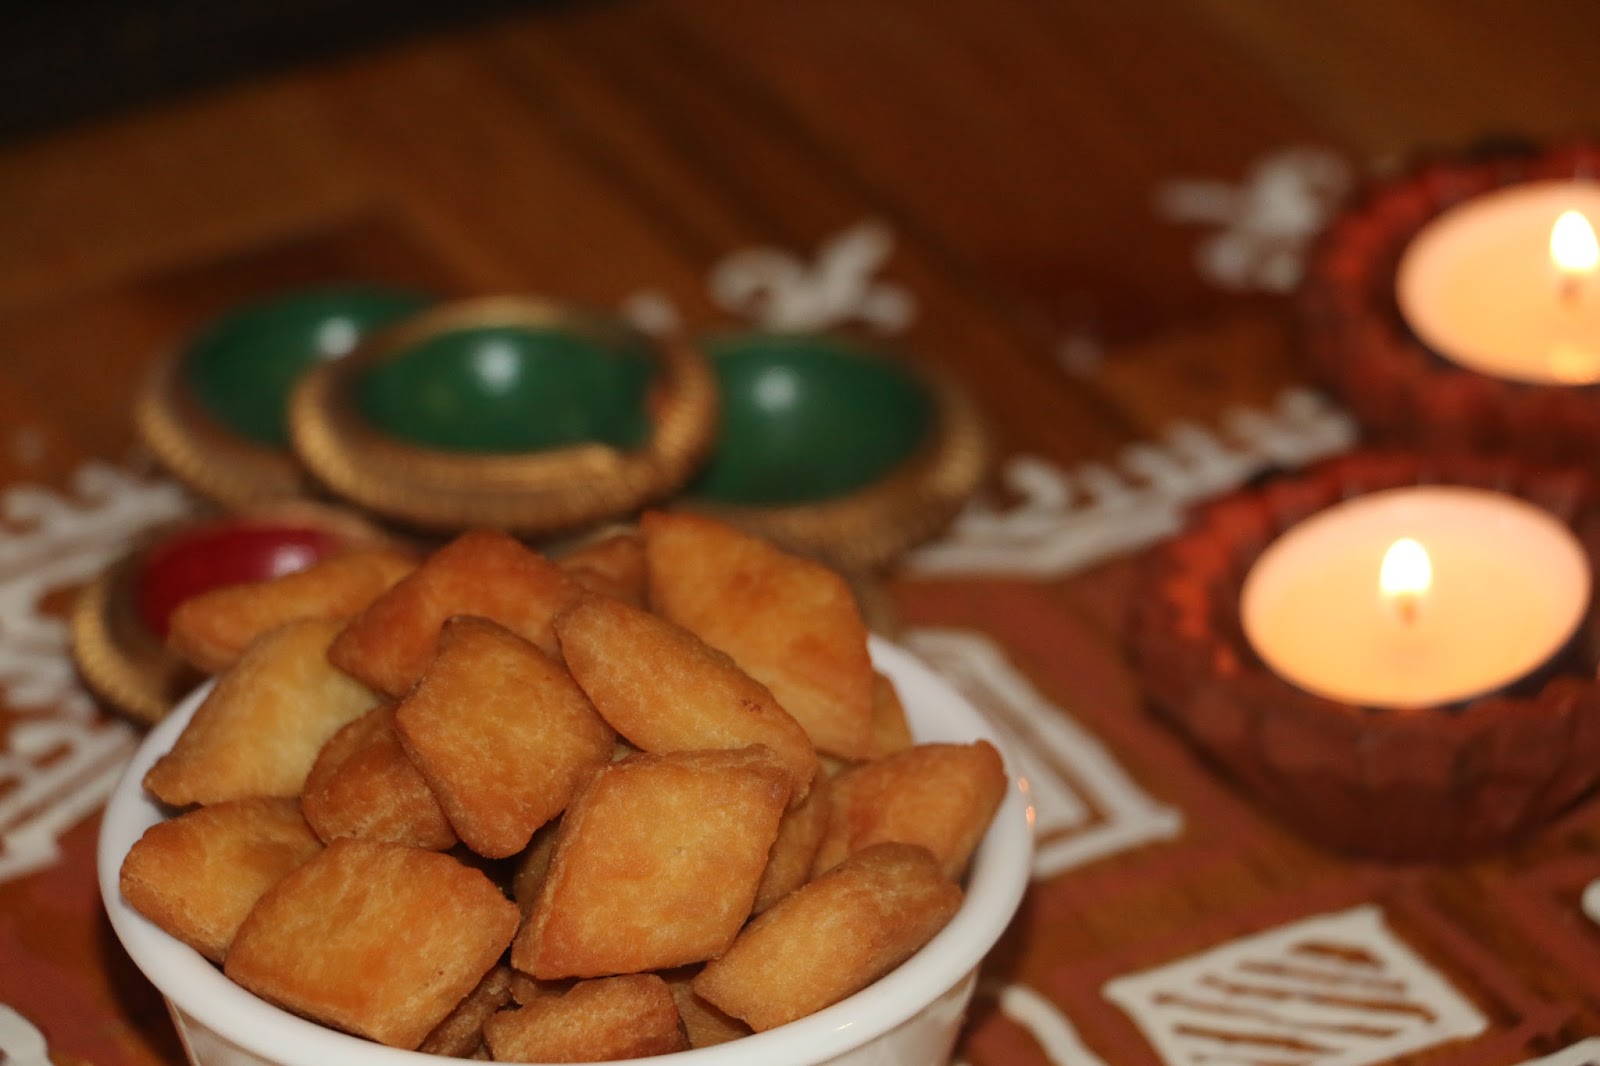
Shakkarpara is most commonly made in India around festival time - especially Diwali or Christmas. It is known as Shakkarpara or Shakkarpare or Shankarpali.
Well-made
Shakkarpara is crisp and crunchy but not hard and overly sweet. You can
make Shakkarpara well ahead of time (2-3 weeks) and store it in a cool, dry
place, in an airtight container. It is so tasty though, I can't guarantee you
or your family will let it last that long! It never does in our home!


Here
is a simple, easy to follow recipe for Shakkarpara. It will make a nice batch
of Shakkarpara for 4-6 people to snack on.
Step by step recipe
of Shakkarpare:
Put
½ cup ghee and ½ cup milk into a small pan. Set the pan up on low heat so
you can melt the ghee.
[If you don't have ghee or don't have the time to make
some, the ghee can be substituted by butter (¼ cup) or vegetable/
sunflower/canola cooking oil (¼ cup).] However, the Shakkarpara will taste
best when made with ghee.

When
the ghee melts, take the pan off the heat and stir the ghee-milk mixture well.
Add
½ cup sugar to it and stir till all the sugar dissolves completely. Do this
while the ghee-milk mixture is still hot as it will help dissolve the sugar
faster.

Pour the ghee-milk mixture in to a deep mixing bowl or a shallow, wide mixing platter. Once
cooled, take all-purpose flour (I end up using 2½ cups flour) and gradually add.

Each time, stir well to mix the flour into the
ghee-milk-sugar mixture. Keep doing this till all the flour is used up.

Once
this is done, use clean hands to knead the mixture into smooth, medium-firm
dough. The dough should not be sticky.
Cling-wrap
the dough and keep it aside to rest, for 30 minutes.

After 30 minutes, unwrap the dough and knead it again till it is soft and pliable.
Divide
the dough into 6 equal-sized balls. Roll each ball between your palms till it
is smooth and free of cracks.
Now
very lightly flour a clean work surface and use a rolling pin to roll the dough
ball into a round circle about 1/3 " thick. Do not worry if the circle has
cracked edges. That is not a problem.

Use
a knife or rotary pizza cutter to cut the circle into strips that are 1"
wide. Now cut again to turn these strips into diamond shapes. Remove the edge
pieces that are very small or have cracked edges. Do not discard as they can be
reused later by making into a ball and rolling out for more Shakkarpara. Also,
you can use any shapes you like - long diamond strips, squares, small cookie
cutter shapes, etc...

Do
these, till all your dough is used up.
When
all your shapes are ready and the oil is hot, put in small batches of the
shapes (a little at a time or they will clump together and not turn out right)
into the hot oil and fry till golden on both sides. Stir often using a slotted
spoon.

When done, remove from the oil with a slotted spoon and drain on paper towels. Do this until all your shapes are fried.

Allow
the fried Shakkarpara to cool completely and then store in a cool, dry place,
in an airtight container for later. Better still, eat right away with a
steaming cup of Masala Chai!


Why
should you fry shakkarpara on medium heat? Because if you fry them on high
heat, they will become soft after cooling down instead of staying crispy. If
you fry on low heat, they will become too hard. They should ideally be crunchy
and crispy.
Below
is the printable version of this recipe.
Shakkarpara/Shakkarpare/Shankarpali recipe:
 Shakkarpare recipe Shakkarpare recipe
Shakkarpare
- Sweet, crispy, deep fried snack
AUTHOR:
Monali
RECIPE
TYPE: Snack
CUISINE:
Indian
SERVES:
6
INGREDIENTS (measuring cup used, 1 cup=237
ml)
DIRECTION
|
No comments:
Post a Comment